Unlocking the Magic of Authentic Italian Crusty Bread: No Machine, Just Simple Homemade Perfection
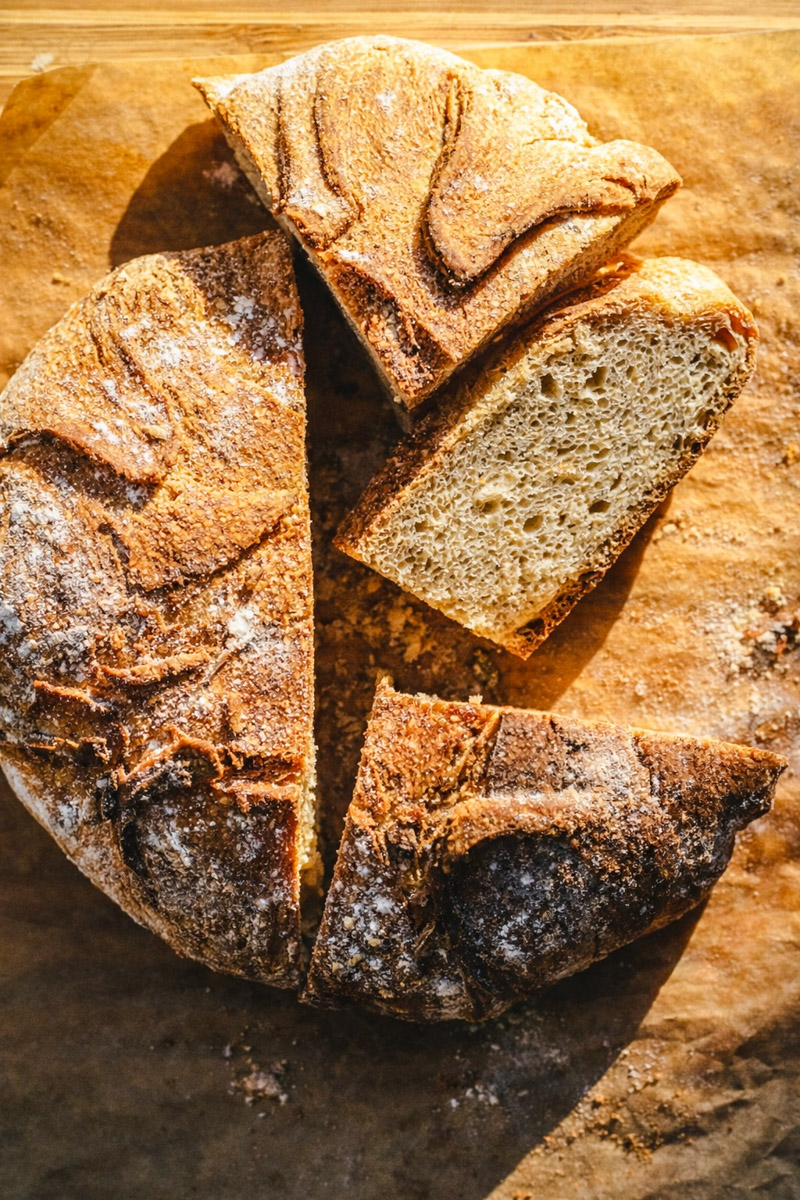
Imagine sinking your teeth into a slice of warm, freshly baked bread—a perfectly crackly, golden-brown crust giving way to a soft, airy, and incredibly flavorful interior. Now, imagine achieving this artisanal quality right in your own kitchen, without the need for fancy stand mixers, specialized Dutch ovens, or complex kneading techniques. Sounds like a dream, doesn't it? Well, it's not! With our simple guide, you can create the most divine crusty rustic bread its no knead method, transforming a few basic pantry staples into a masterpiece that rivals any bakery.
For too long, the idea of baking homemade bread has intimidated many, conjuring images of messy flour-dusted counters, intense arm workouts, and hours of waiting. But what if we told you that the secret to a truly authentic Italian-style loaf lies not in strenuous effort, but in patience and a clever, hands-off approach? This no-knead method is a revelation, perfect for busy home cooks, novice bakers, or anyone who simply appreciates the profound satisfaction of pulling a gorgeous loaf from the oven with minimal fuss. Get ready to embrace the joy of baking as we demystify the process of creating easy no-knead rustic bread that’s truly bakery-style in its appeal and taste.
The Genius Behind No-Knead Crusty Rustic Bread: Why Time is Your Best Ingredient
At the heart of this seemingly miraculous recipe is a concept that turns traditional bread-making on its head: instead of intense kneading to develop gluten, we let time do the work. This extended fermentation period, typically 2-3 hours at room temperature (or even longer if you opt for an overnight rise for deeper flavor), allows the yeast to slowly break down starches and for the gluten strands to naturally align and strengthen. This passive development of the gluten matrix is what gives the dough its structure, elasticity, and ultimately, that desirable chewy texture and open, airy crumb without ever having to touch a dough hook or exert an ounce of energy.
This technique isn't just about saving effort; it's about enhancing flavor. The longer fermentation creates a more complex flavor profile, adding subtle nuances that are often missing from quick-rise, heavily kneaded loaves. You’ll find that this crusty rustic bread its no knead process yields a loaf that is both incredibly satisfying to make and a delight to eat, providing a deeply flavorful base for everything from savory bruschetta to hearty paninis, or simply dipped in olive oil.
Gather Your Simple Ingredients for Homemade Perfection
One of the most appealing aspects of this authentic Italian crusty bread is its minimalist ingredient list. You likely have everything you need in your pantry right now! High-quality ingredients, even in their simplicity, make a significant difference in the final product:
- All-Purpose Flour: The foundation of our loaf. While bread flour can be used for an even chewier texture, all-purpose flour works beautifully and is readily available. Ensure you have a little extra for dusting your work surface.
- Sea Salt: Essential for flavor and also plays a crucial role in controlling yeast activity. Don't skimp on good quality sea salt; it truly makes a difference.
- Instant Yeast (or Active Dry Yeast): This is the leavening agent. Instant yeast can be mixed directly with the dry ingredients. If using active dry yeast, you might briefly proof it in a small amount of the warm water first (though often with this method, it can also be mixed in directly due to the long rise time).
- Warm Water: The hydration for our dough. Warm water (around 105-115°F or 40-46°C) is key to activating the yeast without being too hot to kill it. Think lukewarm bathwater. The precise temperature ensures your yeast gets a good start, leading to a vibrant, bubbly dough.
That’s it! Just four humble ingredients come together to create an extraordinary loaf. This truly is an ingredient crusty bread recipe that proves less is often more when it comes to artisan baking.
Step-by-Step Guide to Baking Your Own Crusty Rustic Bread
Ready to get started? Follow these straightforward steps to create your own homemade perfection:
1. Mix the Dough: Simplicity in a Bowl
In a large bowl, whisk together the dry ingredients: 3¼ cups of all-purpose flour, 1 teaspoon of sea salt, and 2 teaspoons of instant yeast. Once combined, add 1½ cups of warm water. Use a sturdy spatula or even your hands to mix everything until a soft, sticky dough forms. Don't worry if it looks shaggy or adheres to the bowl; this high hydration is exactly what we want for that airy crumb and chewy texture. Resist the urge to add more flour at this stage, as tempting as it may be.
2. The Patience Game: Let it Rise
Cover the bowl snugly with plastic wrap, then drape a clean kitchen towel over it for extra insulation. Place the bowl at room temperature (ideally around 70-75°F or 21-24°C) and let the dough rise for 2 to 3 hours. The warmer your kitchen, the faster it will rise. You’ll know it’s ready when it has roughly doubled in size and the surface is dotted with beautiful, active bubbles. This is where the magic of "no knead" truly happens.
3. Gentle Hands: Shaping Your Loaf
Once risen, generously flour your work surface and your hands. Carefully turn the sticky dough out onto the floured surface. Remember, it will be very soft and pliable. Avoid excessive handling; instead, gently fold the edges of the dough into the center, creating tension on the surface to form a round ball. Do not knead it or work it too much, as this will deflate the precious air bubbles you’ve cultivated. A light touch is key to maintaining that open crumb structure.
4. Preheat for Perfection: Oven and Stone
This step is critical for developing that coveted crackly crust. Place a pizza stone (or a heavy cast-iron skillet/Dutch oven, if you have one—though this recipe is designed not to require it, a hot surface is vital) into your oven. Preheat the oven to a blazing 450°F (232°C) for a full 45 minutes. This ensures your baking surface is screaming hot, providing an immediate burst of heat to the dough. Simultaneously, place an oven-safe dish containing about 2 inches of water on the bottom rack of your oven. This creates the essential steam environment that is non-negotiable for a truly crusty finish.
5. Score and Rest: The Final Touches
Carefully transfer your shaped dough onto a piece of parchment paper or a lightly floured pizza peel. Using a sharp knife or a bread lame, score the top of the loaf with an “X” or a few diagonal slashes. This not only adds a rustic, artisanal touch but also allows the bread to expand predictably in the oven. Let the dough rest while the oven finishes preheating.
6. Bake Your Beautiful Bread
With extreme caution, slide the parchment paper with the dough onto the preheated pizza stone (or carefully place it into your hot cast iron pan). Close the oven door quickly to trap the steam. Bake for 30 to 45 minutes, or until the loaf is deeply golden brown and sounds hollow when tapped on the bottom. The rich color indicates maximum flavor development and a truly crispy crust.
7. The Hardest Part: Cool Completely
Once baked, transfer your beautiful crusty rustic bread its no knead loaf to a wire cooling rack. This is arguably the most challenging step: you must resist the urge to slice into it immediately! Allowing the bread to cool completely (at least 1-2 hours) is vital. As it cools, the internal moisture redistributes, preventing the crust from becoming soft and ensuring the crumb sets properly. Cutting it too soon will trap steam, resulting in a gummy interior and a less crisp crust.
Pro Tips for an Unforgettable Loaf
- Don't Over-Handle: Once the dough has risen, treat it gently. Excessive handling will deflate the air bubbles, leading to a denser loaf.
- Steam is Key: The water dish in the oven is crucial for that signature crust. It keeps the surface of the dough moist longer, allowing it to expand before hardening into a crust.
- Listen to Your Loaf: A hollow sound when tapped is a reliable indicator of doneness. Trust your ears!
- Parchment Paper Power: If you're nervous about sliding the dough onto a hot surface, parchment paper is your friend. Ensure it's oven-safe for high temperatures.
- Doubling Up: If you're feeding a crowd or simply want more delicious bread, you can easily double the recipe. For 6¼ cups all-purpose flour, 2 tsp sea salt, 1 packet (2¼ tsp) instant yeast, and 3 cups warm water, follow the same steps and bake for approximately 45 minutes.
Beyond the Bake: Storage and Serving Suggestions
Once your crusty rustic bread its no knead masterpiece has cooled, store it at room temperature in a plastic bag or a bread box for up to 2-3 days to maintain its freshness. For longer storage, you can slice and freeze individual portions, reheating them gently for a quick treat.
This versatile Italian loaf is perfect for so many culinary applications:
- Soup Companion: Ideal for dipping into hearty Italian soups like Ribollita or Pappa al Pomodoro.
- Bruschetta Base: Slice, toast, rub with garlic, drizzle with olive oil, and top with fresh tomatoes and basil for a classic appetizer.
- Sensational Sandwiches: Elevate your panini or everyday sandwiches with its robust texture and flavor.
- Simply with Olive Oil: Sometimes, the purest pleasure comes from a slice of bread dipped in high-quality extra virgin olive oil with a pinch of sea salt.
Should your loaf start to lose its initial crispness, don't despair! Revive slightly stale slices by toasting them, or transform them into delicious croutons or breadcrumbs. The beauty of this bread extends even to its "second life."
Conclusion: Embrace Your Inner Baker
Baking homemade bread doesn't have to be a daunting task. This crusty rustic bread its no knead recipe proves that with minimal effort and just a little patience, you can achieve authentic, bakery-quality results right in your own kitchen. The simple ingredients, the hands-off approach to gluten development, and the satisfaction of pulling a warm, aromatic loaf from your oven are truly unparalleled. So, ditch the machines, forget the vigorous kneading, and embrace the simple perfection of this no-knead method. Your taste buds—and your family—will thank you for it!
