Unlock Bakery-Quality Bread in Just 2 Hours: The Secret to Easy No-Knead Rustic Perfection
Imagine sinking your teeth into a warm, fragrant slice of bread with a perfectly crackly crust and a soft, airy interior. What if we told you that this bakery-style dream could be a reality in your own kitchen, with minimal effort and in as little as two hours? Forget complicated techniques, expensive stand mixers, or all-day waiting. This recipe for
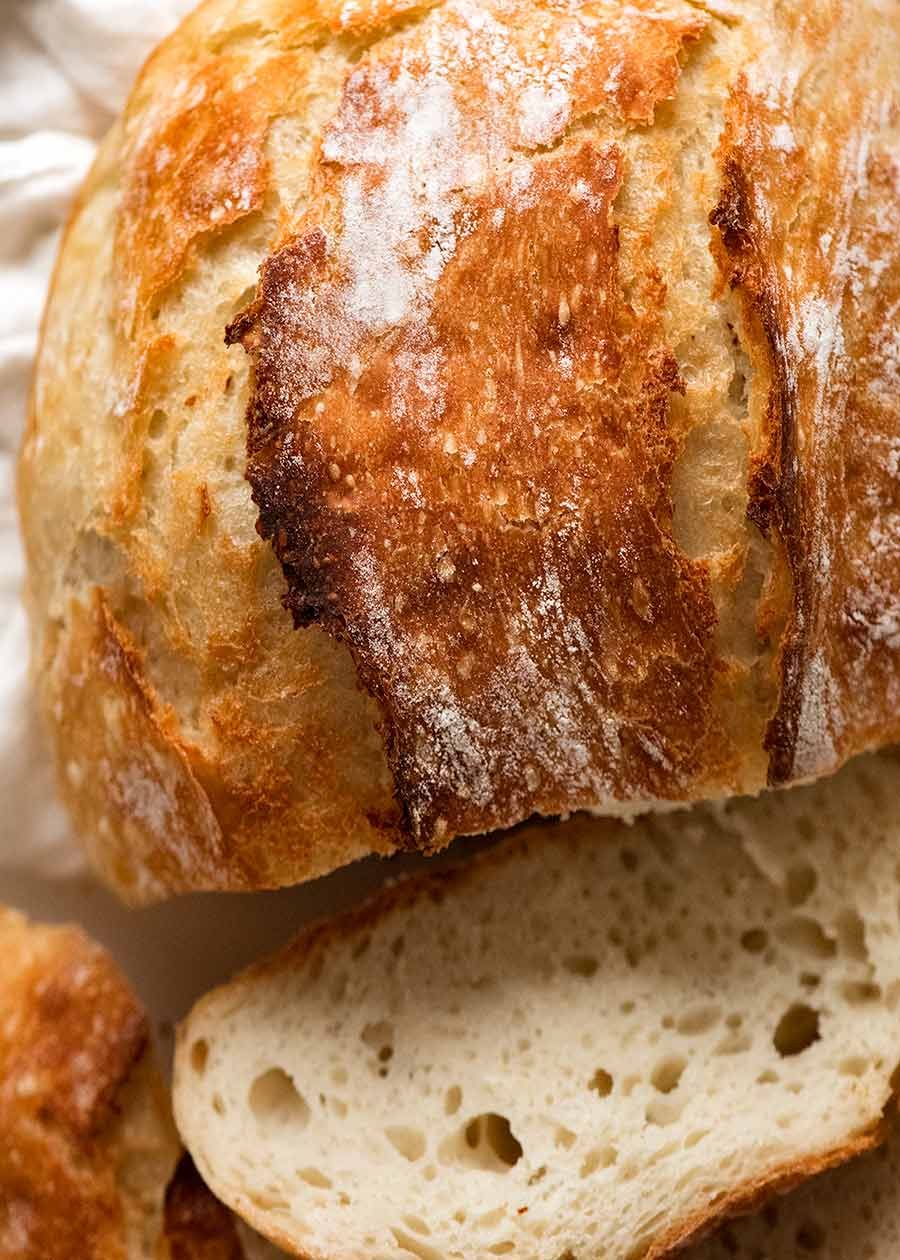
crusty rustic bread that's no knead is about to revolutionize your home baking, delivering artisanal results with astounding simplicity.
Whether you're new to baking or a seasoned pro looking for a quicker, foolproof method, this recipe is designed for success. We're talking about a loaf made entirely by hand, transforming basic pantry staples into an impressive, delicious centerpiece for any meal. Get ready to experience the magic of homemade bread without the fuss!
Why You'll Fall in Love with This Easy No-Knead Rustic Bread
The appeal of this no-knead method lies in its incredible ease and efficiency, making it perfect for busy weeknights or spontaneous baking cravings. Here’s why this recipe stands out:
*
No Kneading Required: The biggest draw! You literally mix the ingredients, let time do its work, and bake. The long fermentation, even for just 2-3 hours, develops gluten naturally, eliminating the need for strenuous kneading.
*
Minimal Equipment: You don't need a stand mixer, a fancy Dutch oven (though it can be used!), or any specialized machinery. A large bowl, a spatula, and a baking stone or cast iron skillet are all you need for this simple, yet incredibly effective, approach to creating
authentic Italian crusty bread with no machine.
*
Speedy Results: While many no-knead recipes call for an overnight rise, this particular method delivers a beautiful, bubbly dough ready for the oven in just 2 to 3 hours. This makes freshly baked bread a feasible option even on short notice.
*
Incredible Texture and Flavor: Despite the speed, you won't compromise on quality. You’ll achieve that coveted combination of a deeply golden, audibly crackly crust and a light, chewy, moist interior that's characteristic of true artisan bread.
*
Versatile and Delicious: This homemade rustic loaf is perfect for everything from mopping up hearty soups and stews, to creating gourmet sandwiches, decadent bruschetta, or simply enjoying with a drizzle of olive oil.
Gather Your Simple Ingredients: The Foundation of Your Bakery-Style Loaf
One of the most delightful aspects of this recipe is its reliance on just four fundamental ingredients, proving that extraordinary flavor doesn't require complexity. For your perfect
crusty rustic bread its no knead, you'll need:
*
3¼ cups All-Purpose Flour: The backbone of your bread. While bread flour can provide a chewier crumb, all-purpose flour works beautifully, keeping the recipe accessible for everyone. If you're exploring different flours, check out our guide on
ingredient crusty bread for a foolproof no-knead artisan recipe.
*
1 tsp Sea Salt: Essential for flavor, but also crucial for controlling yeast activity and strengthening the gluten structure. Don't skip it!
*
2 tsp Instant Yeast (or Active Dry Yeast): This is your leavening agent. Instant yeast can be added directly to the dry ingredients, while active dry yeast might benefit from being "bloomed" in a portion of the warm water first (though it often works fine added dry here too).
*
1½ cups Warm Water: The temperature is key here. Aim for around 105-115°F (40-46°C) – warm to the touch but not scalding hot. This activates the yeast without killing it, ensuring a good rise.
Your Step-by-Step Guide to Perfect Rustic Bread in 2 Hours
This recipe breaks down into a few simple, hands-off steps. Precision is less important than gentle handling and patience.
1. Mix the Dough – The Ultimate No-Knead Beginning
In a large mixing bowl, combine the flour, salt, and yeast. Give them a good whisk to ensure even distribution. Now, pour in the warm water. Using a sturdy spatula, wooden spoon, or even your clean hands, mix until all the flour is incorporated and a soft, shaggy, and *very sticky* dough forms. Resist the urge to add more flour at this stage, even if it feels overly wet. The high hydration is critical for that signature airy crumb and crisp crust. Just ensure there are no dry pockets of flour left.
2. Let it Rise – Time is Your Kneading Machine
Cover the bowl tightly with plastic wrap to prevent a skin from forming, then drape a kitchen towel over it for added warmth. Place the bowl in a warm spot in your kitchen (away from drafts) and let the dough rise at room temperature for 2 to 3 hours. During this time, the yeast will feast, produce carbon dioxide, and the gluten strands will naturally develop and strengthen. You’re looking for the dough to approximately double in size and appear bubbly on the surface.
3. Shape the Loaf – Gentle Handling for an Airy Crumb
Once risen, lightly flour your clean work surface and dust your hands. Gently turn the sticky dough out onto the floured surface. The key here is *minimal handling*. Do not knead the dough again. Instead, gently pull the edges of the dough towards the center, folding it onto itself a few times to create a relatively taut, round ball. This builds some surface tension, which helps the loaf hold its shape during baking and contributes to a beautiful rise.
4. Preheat the Oven and Stone – Setting the Stage for Crust Perfection
This step is critical for achieving that glorious
crusty rustic bread. Place a pizza stone (or an oven-safe cast iron pan/Dutch oven) in your oven and preheat it to a blistering 450°F (232°C) for at least 45 minutes. This extended preheating ensures the stone or pan is scorching hot, providing an immediate burst of heat to the dough and aiding in oven spring. Simultaneously, place an oven-safe dish with about 2 inches of water on the bottom rack of your oven. This creates steam during baking, which is absolutely vital for developing that beautifully crackly, golden crust.
5. Score & Rest – The Final Touches
Carefully transfer your shaped dough onto a piece of parchment paper or a lightly floured pizza peel. Using a sharp knife or a bread lame, score the top of the loaf with an "X" or a few diagonal slashes. This not only adds an artisanal touch but also allows the bread to expand predictably in the oven. Let the dough rest on the parchment/peel while your oven continues to heat, allowing it to relax slightly before baking.
6. Bake the Bread – The Transformation
Once the oven and stone are fully preheated, carefully slide the parchment paper with the dough onto the hot pizza stone (or carefully lower it into your preheated cast iron pan/Dutch oven). Close the oven door quickly to trap the steam. Bake for 30-45 minutes, or until the loaf is deeply golden brown and sounds hollow when tapped on the bottom. The steam from the water dish helps keep the crust pliable initially, allowing the bread to expand fully before setting into a crisp shell.
7. Cool Completely – The Golden Rule of Crusty Bread
This step is arguably as important as baking itself! Immediately transfer the freshly baked loaf to a wire cooling rack. Allow the bread to cool *completely* for at least an hour, preferably longer, before slicing. Cutting into warm bread traps steam inside, which can lead to a gummy interior and a soft, rather than crisp, crust. Patience here will be greatly rewarded with the ultimate crusty rustic bread experience.
Expert Tips for the Ultimate Crust and Crumb
To ensure your no-knead bread turns out perfect every time, keep these essential tips in mind:
*
Resist Over-Handling: The less you fuss with the dough after its rise, the better. Excessive handling deflates the air bubbles that contribute to that light, open crumb.
*
Steam is Your Best Friend: Seriously, do *not* skip the water dish in the oven! The steam is absolutely paramount for achieving a thin, crisp, and golden crust. Without it, your bread will likely have a thicker, chewier, and less appealing crust.
*
Cooling is Non-Negotiable: As mentioned, cutting warm bread traps moisture, turning your hard-earned crust soft. Let it cool *completely* for optimal texture.
*
Parchment Paper Power: If you're nervous about transferring the sticky dough to a hot surface, parchment paper is your ally. Just make sure your parchment paper is oven-safe for high temperatures.
*
Scaling Up: If you're feeding a crowd or simply want more delicious bread, doubling the recipe is easy. Use 6¼ cups all-purpose flour, 2 tsp sea salt, 1 packet (2¼ tsp) instant yeast, and 3 cups warm water. Follow the same steps, and the baking time will likely remain around 45 minutes.
Serving and Storing Your Homemade Masterpiece
Once your beautiful
crusty rustic bread its no knead has cooled, the possibilities are endless. Enjoy it simply with butter, or elevate your meals:
* Pair slices with hearty stews, chili, or a classic French onion soup.
* Turn it into gourmet sandwiches or toasted panini.
* Rub slices with garlic and top with fresh tomatoes and basil for perfect bruschetta.
* Serve alongside olive oil and balsamic vinegar for dipping.
* For a true Italian experience, use stale pieces in traditional soups like *Ribollita* or *Pappa al Pomodoro*.
To store your loaf, once completely cool, place it in a plastic bag or a bread box at room temperature for up to 2-3 days. To revive a slightly stale loaf, a quick toast in the oven or toaster oven can bring back some of its crispness and warmth. You can also freeze sliced bread for longer storage; just pop slices directly into the toaster when ready to enjoy.
Conclusion: The Joy of Effortless, Artisan Bread
Creating a truly bakery-quality loaf of bread doesn't have to be an arduous task reserved for master bakers. With this easy no-knead rustic bread recipe, you can achieve magnificent results in just two hours, transforming a few simple ingredients into a golden, crackly, and utterly delicious masterpiece. Embrace the simplicity, savor the aroma, and delight in the incredible satisfaction of baking a perfect
crusty rustic bread that's no knead right in your own kitchen. It's truly miraculous how easy it is to make such an impressive loaf – prepare for this to become your new favorite go-to recipe!